What to expect in Arizona?
Arizona has been a big retirement state for years and has many 55 plus communities in Phoenix. The first of many Phoenix 55 communities was developed over 55 years ago. There are many reasons seniors are choosing Arizona to retire, and it’s not just the sunshine. For those on fixed incomes, tax breaks in Arizona can help tremendously. Being one of the most tax friendly states, your Social Security checks will not be taxed.
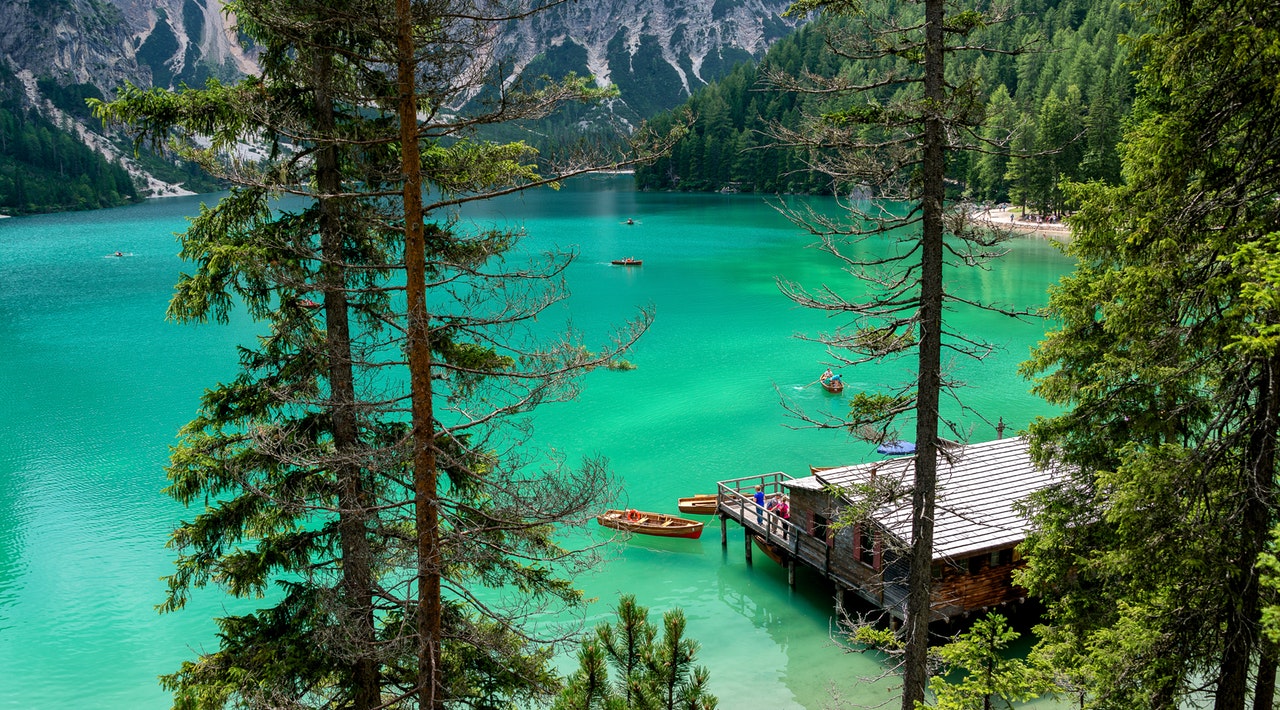
The Grand Canyon National Park and Red Rock State Park are two of the most beautiful in the world. If you are an active senior, you can play at their championship golf courses, white water raft, hang glide through the desert or fish. During the winter, it still feels like summer in Arizona. The average rainfall is less than 3 inches per year. You can expect more than 250 days of sun with cool nights each year. The dry air is also excellent for those who suffer from allergies and asthma.
The longest running festival is the Scottsdale Culinary Festival. Over 35,000 tourists and locals attend the festival every year. The festival showcases celebrity chefs, fine wines, gourmet food, micro brews and restaurants. The Arizona state fair also attracts over one million people featuring livestock, rodeos, concerts, racing and plenty of food booths.
Why should you choose Phoenix communities?
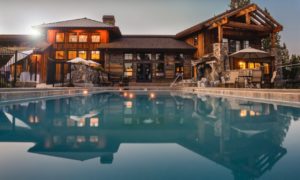
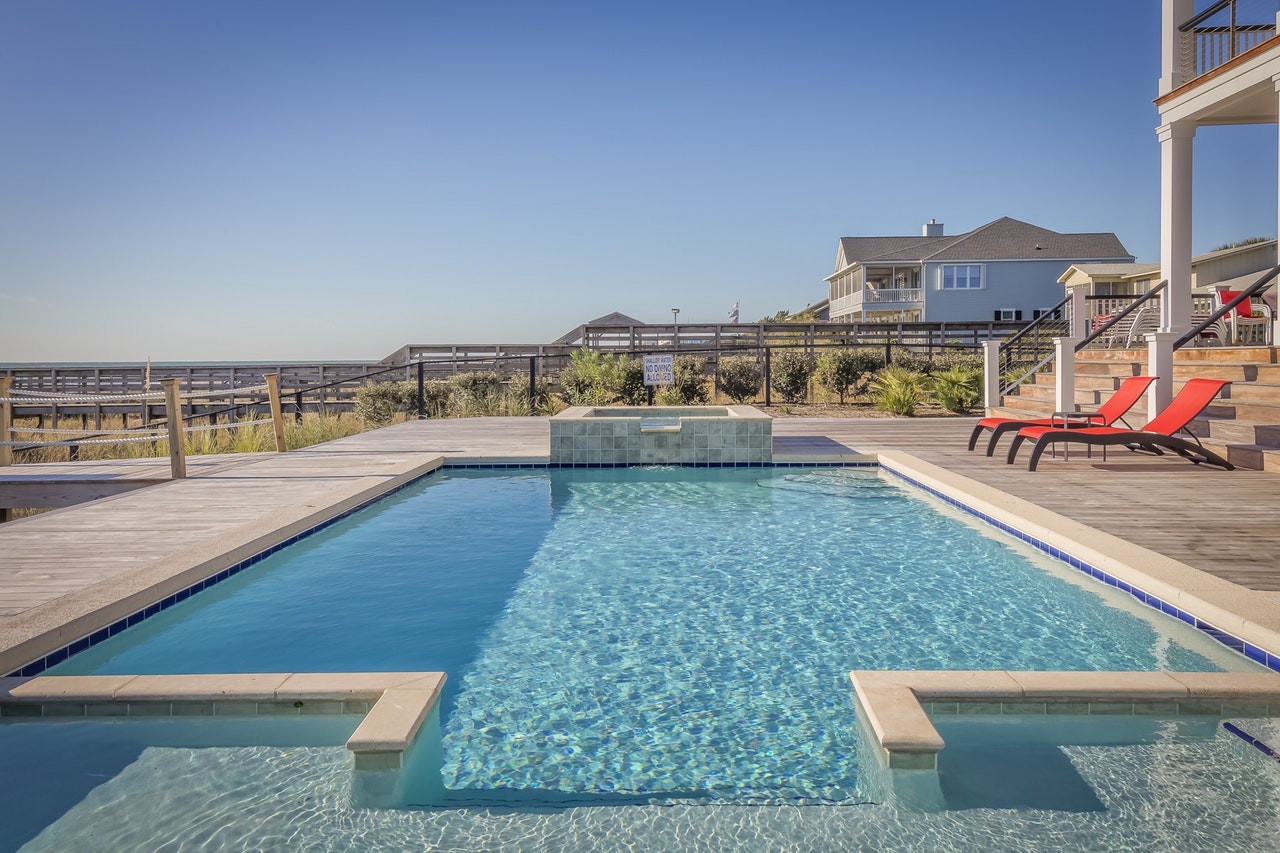
Probably the most attractive reason to live in Phoenix 55 communities is the affordable housing costs. The median home value in Arizona is only $180K with a median rental at $1100. PebbleCreek real estate group and their construction, is one of the best luxury active 55 communities in mesa AZ. It is one of the only communities conveniently close to downtown and the airport. Entertainment and shopping is only 30 minutes away and close to the new Estrella Mall. PebbleCreek is a gated community split into two sections. One section is called Eagles Nest and the newer section is Tuscany Falls. Each side has their own clubhouse and you have access to both no matter which section you live at. PebbleCreek offers amenities that you would likely find at a 5 star resort. There are 45 holes of golf with 2 18 hole championship golf courses. Tuscany has the latest clubhouse home to Toscana’s restaurant, a ballroom, banquet room, fitness center, lecture hall and 395 seat movie theater. Take a relaxing swim in either the outdoor or indoor resort style pools. Visit pH Balanced Pool Service for all of your pool needs. There are several outdoor activities to partake in such as: pickle ball, golf, tennis and bocce ball. There is also a small and large dog park where your furry friend can socialize.